Drywall Calculator: Estimate Sheets, Screws and Joint Compound
Enter the room size, doors and windows, and this free drywall calculator will work out the wall area, how many 4x8 sheets you need with waste, plus the screws, joint compound and joint tape to buy — a full shopping list before you head to the store.
Formulas verified against standard construction references. Calculator logic tested with verified worked examples. Last reviewed: October 2026. Our methodology
How the drywall math works
Drywall is sold by the sheet, so the whole job is about turning a room into a total area, subtracting what you do not board over, and dividing by one sheet's coverage.
- Wall area: 2 x (length + width) x ceiling height, minus the openings.
- Openings: doors x 21 sq ft + windows x 12 sq ft. A standard door is about 21 sq ft and a typical window about 12 sq ft — you do not hang drywall over them.
- Ceiling (optional): length x width, added only when you are boarding the ceiling too.
- Sheets needed: total area / 32, rounded up. A 4x8 sheet covers 32 sq ft and you cannot buy part of a sheet.
- Sheets to buy: sheets needed x (1 + waste% / 100), rounded up — the waste allowance covers cuts around outlets, corners and edges.
- Screws: sheets to buy x 32, roughly one screw per square foot on studs spaced 16 inches apart.
- Joint compound: total area / 100, rounded up to whole gallons — about a gallon per 100 sq ft for a standard finish.
- Tape rolls: total area / 1500, rounded up — each 250-ft roll covers roughly 1500 sq ft of board.
Sources: USG — drywall installation guidance; Gypsum Association — construction standards.
Worked example
Take a 12 x 15 ft room with an 8 ft ceiling, 1 door, 2 windows, no ceiling, and a 10% waste allowance.
- Wall area: 2 x (12 + 15) x 8 = 432 sq ft.
- Openings: 1 x 21 + 2 x 12 = 45 sq ft.
- Total area: 432 - 45 = 387 sq ft.
- Sheets needed: 387 / 32 = 12.09, rounded up to 13 sheets.
- Sheets to buy: 13 x 1.10 = 14.3, rounded up to 15 sheets.
- Screws: 15 x 32 = 480 screws.
- Joint compound: 387 / 100 = 3.87, rounded up to 4 gallons.
- Tape rolls: 387 / 1500 = 0.26, rounded up to 1 roll.
The shopping list for the room: 15 sheets, 480 screws, 4 gallons of joint compound, and 1 roll of joint tape.
How to use the drywall calculator
Measure the room in feet, count the openings, and let the calculator turn the numbers into a materials list. Everything else is optional.
Step by step
- Measure the room. Tape the length, width and ceiling height in feet. If a room is L-shaped, measure each rectangle and run the calculator for each section, then add the results.
- Decide on the ceiling. Switch the ceiling toggle to Yes when you are boarding the ceiling too; otherwise the calculator counts walls only.
- Count doors and windows. Enter the number of doors (counted at 21 sq ft each) and windows (12 sq ft each). Skip anything smaller than a window, like vents or outlets — the waste allowance absorbs those.
- Set the waste allowance. The default is 10%, which suits simple rectangular rooms. Rooms with lots of corners, angled walls or soffits do better at 15-20%.
- Hit Calculate. You get the total drywall area, sheets needed, sheets to buy with waste, screws, joint compound gallons and tape rolls in one list.
If your measurements are in inches or meters, convert them first — our length converter turns inches, meters and other units into feet in seconds.
Choosing a drywall sheet size
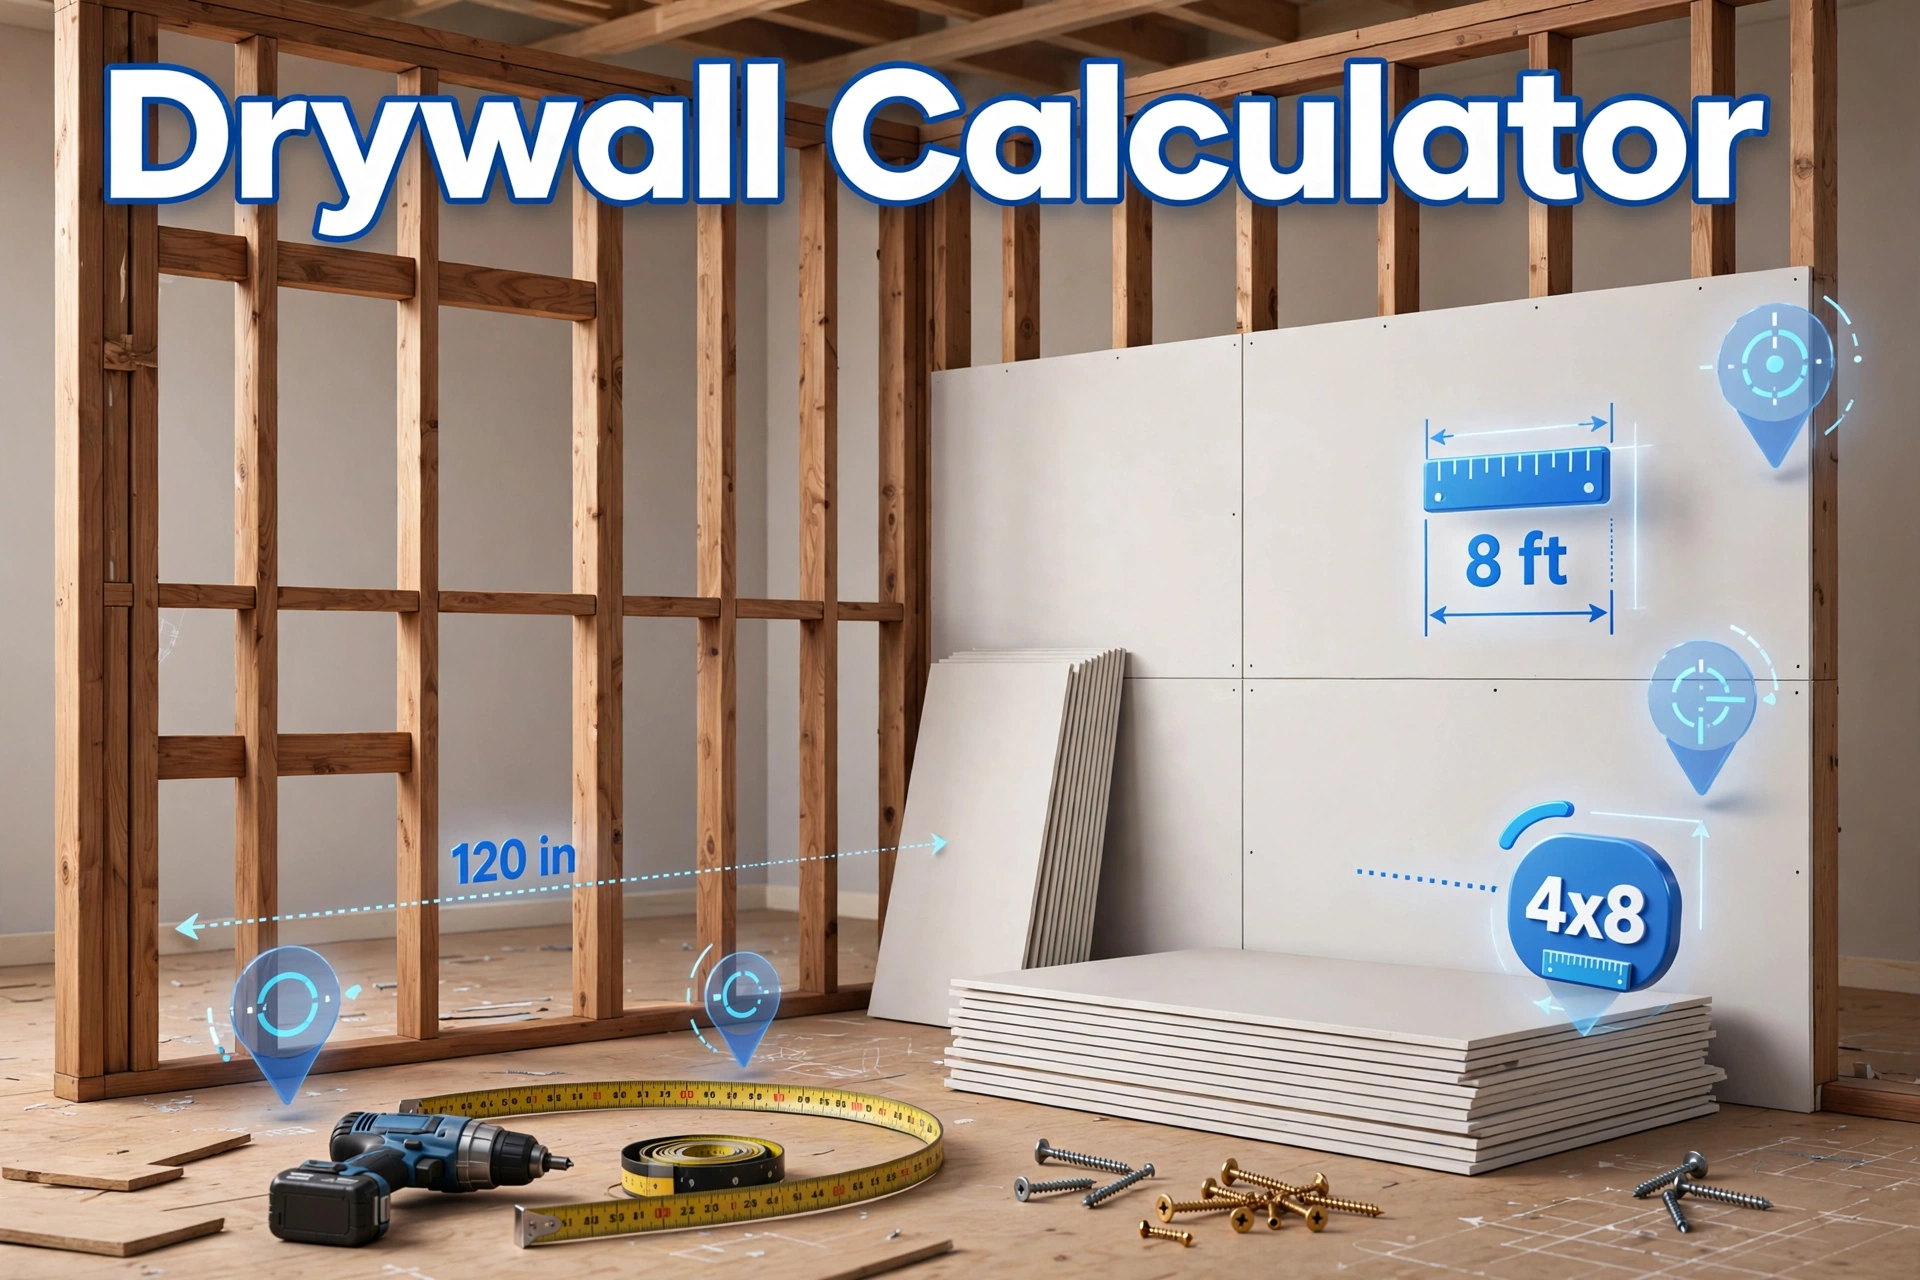
Standard drywall comes in a few sizes. The calculator uses the 4x8 sheet (32 sq ft) as its baseline, because it is the most common residential board, but it helps to know what the others cover.
| Sheet size | Coverage | Best for |
|---|---|---|
| 4 x 8 ft | 32 sq ft | Standard rooms; easiest to transport, carry and hang solo |
| 4 x 10 ft | 40 sq ft | Long walls; fewer vertical seams to tape and finish |
| 4 x 12 ft | 48 sq ft | Rooms with long uninterrupted runs; needs two or more people to handle |
| 4 x 9 ft | 36 sq ft | Rooms with 9 ft ceilings; one sheet covers floor to ceiling |
Longer sheets mean fewer seams, and seams are where the labor lives — taping, mudding and sanding each one takes real time. On a 12 ft wall, a single 4x12 sheet avoids two joints entirely. The trade-off is weight and maneuverability: a 4x12 board is awkward through doorways and nearly impossible to hang alone, so most DIYers stick with 4x8.
Thickness matters too. Half-inch board is the standard for residential walls. Use 5/8-inch (Type X) for ceilings with wider joist spacing, garage walls against the house, or anywhere fire rating is required — check your local code before you buy.
From square footage to a shopping list
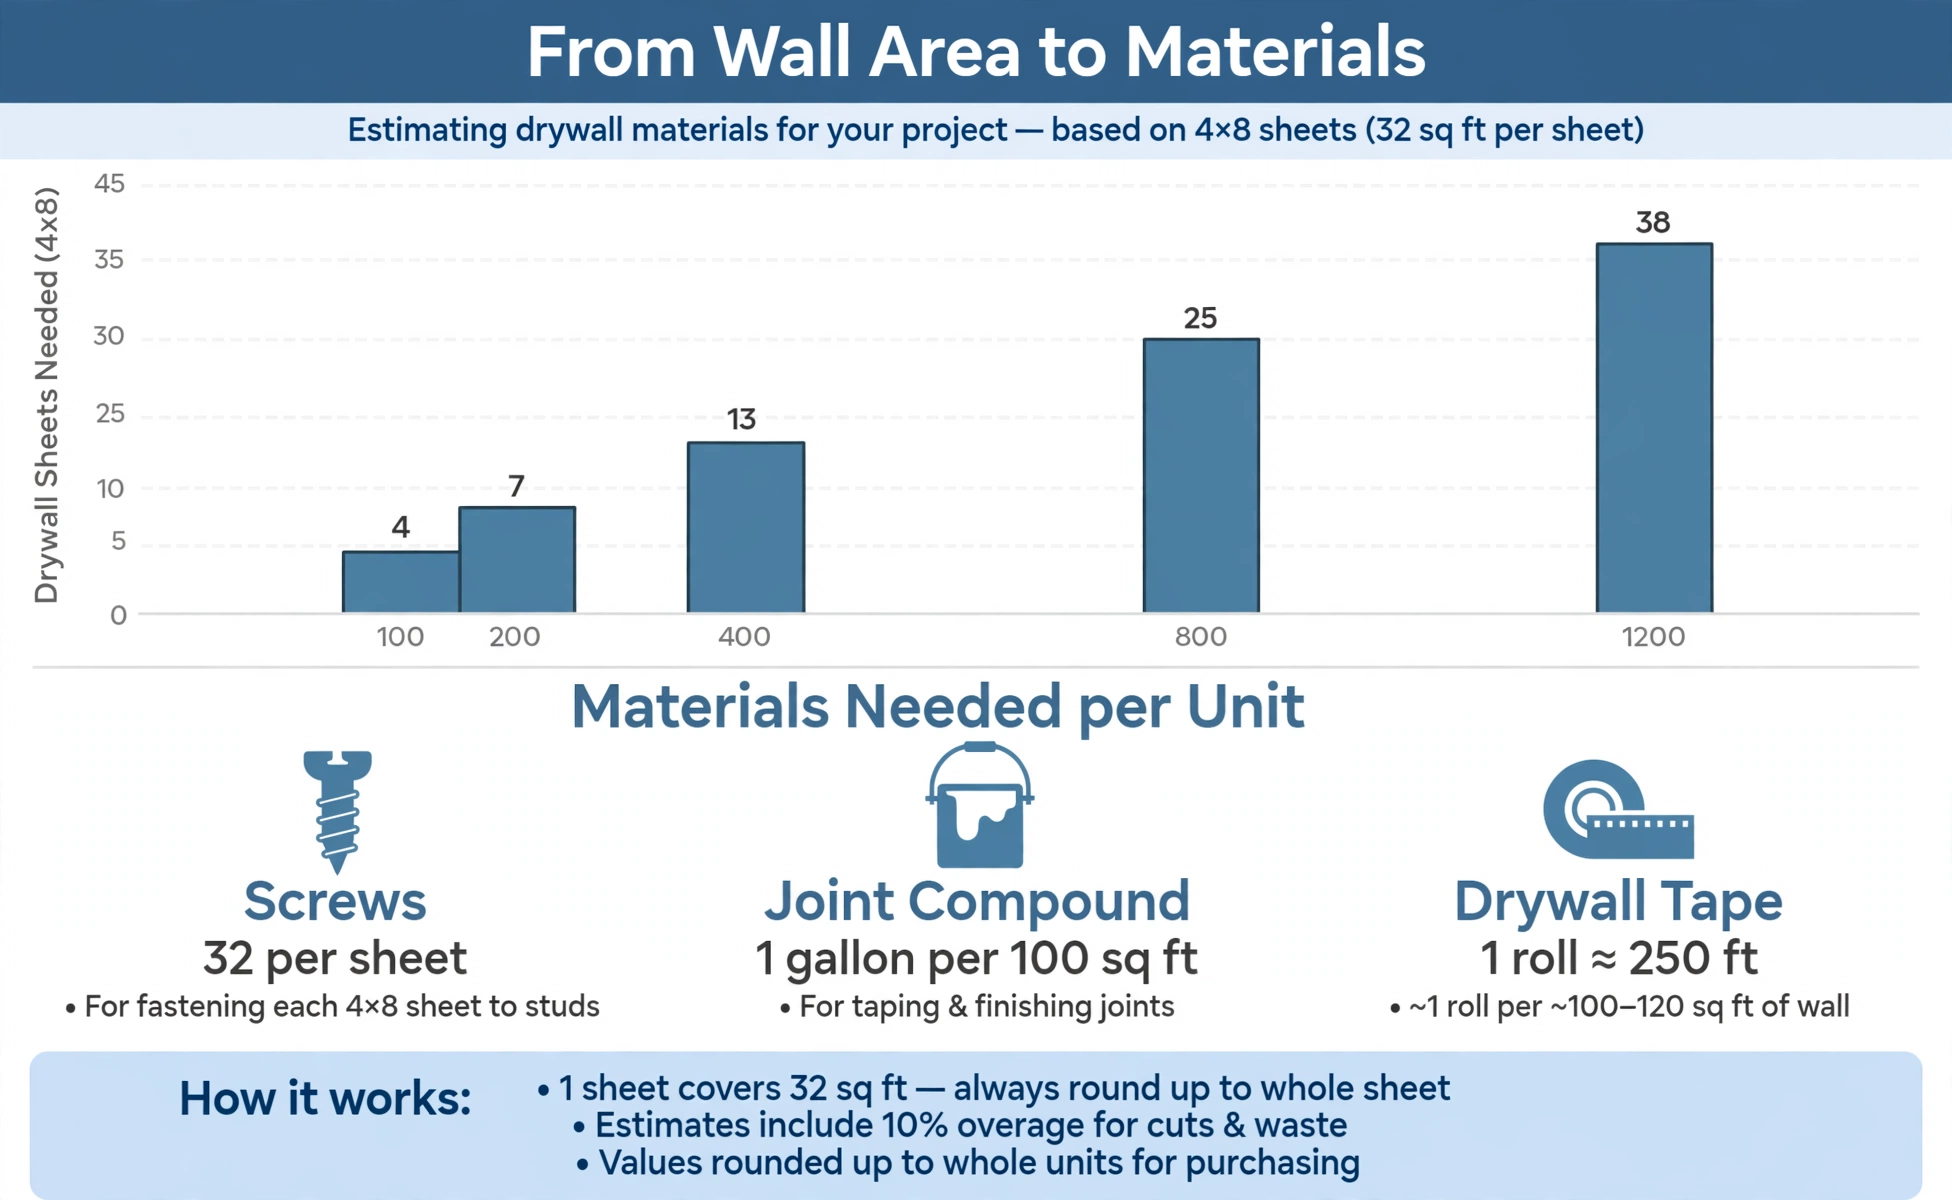
The sheet count gets the headline, but it is the consumables that catch people out at the checkout. A per-sheet breakdown shows why the numbers come out the way they do.
| Material | Per 4x8 sheet | Rule of thumb |
|---|---|---|
| Drywall screws (1-1/4 in) | 32 screws | Roughly 1 screw per sq ft on walls with 16 in stud spacing |
| Joint compound | ~0.5 gallon | About 1 gallon per 100 sq ft for taping plus two to three coats |
| Joint tape (250-ft roll) | ~40 linear ft | About 1 roll per 1500 sq ft of board |
| Waste allowance | 10% default | 15-20% for cut-up rooms with many openings or angles |
Screws follow the sheet count, not the area: 32 screws spaced about 12 inches apart in the field and 8 inches along the edges holds a sheet on 16-inch stud centers. Ceilings take more — tighter spacing to keep heavy panels from sagging — so buy a margin if you are boarding overhead.
Joint compound (mud) goes on in coats: one to embed the tape, then two or three fill coats, feathering each layer wider. A gallon per 100 sq ft assumes that full sequence; textured finishes and skim coats use noticeably more. Working out exactly how much extra margin to buy is a percentage problem — a percentage calculator is handy if you want to sanity-check the waste allowance against a quote.
For mud and finishing technique, USG — the maker of Sheetrock — publishes installation guides that match the coverage figures used here.
Tips that save a return trip
A good estimate only helps if the installation goes smoothly. The habits below keep the job moving and the waste allowance from evaporating.
- Hang the ceiling first. Wall sheets pushed up tight under the ceiling panels support the ceiling edges and hide the seam.
- Stagger the seams. Never line up butt joints from adjacent sheets — staggered joints are stronger and easier to hide with mud.
- Hang sheets horizontally on walls. It reduces the seam count, puts the long seam at a comfortable taping height, and bridges studs efficiently.
- Do not overdrive screws. The head should dimple the paper slightly without tearing it; torn paper loses most of its holding power. A screw gun with a depth clutch makes this automatic.
- Apply mud thin. Two or three thin coats sand out faster than one thick coat, which shrinks and cracks as it dries.
- Measure openings twice. It is tempting to hang a full sheet over a door and cut it out after, but on window openings that can snap the board.
Corner bead, primer and a pole sander are the other items beginners forget — the sheet count is the start of the list, not the whole of it. The Gypsum Association publishes construction standards and finishing-level definitions that define what a Level 4 versus Level 5 finish actually means.
Frequently asked questions
How do you calculate how many drywall sheets you need?
Multiply the room perimeter by the ceiling height to get the wall area, subtract the door and window openings (about 21 sq ft per door, 12 sq ft per window), add the ceiling area if you are boarding it, then divide by the sheet coverage — 32 sq ft for a 4x8 sheet — and round up to a whole sheet. Finally, add your waste allowance (10% is the default) and round up again.
Should I use 4x8 or 4x12 sheets?
Use the longest sheet you can safely handle. A 4x12 covers 48 sq ft and creates far fewer seams to tape, which saves labor — but it is heavy and awkward, especially through doorways and stairwells. Most DIY projects stick with 4x8 sheets because they are easy to transport and hang; reserve 4x12 boards for long, open walls with help on site.
How many screws per sheet of drywall?
About 32 screws per 4x8 sheet on walls with standard 16-inch stud spacing — roughly one screw per square foot. Space field screws about 12 inches apart and edge screws about 8 inches apart. Ceilings need tighter spacing (and more screws) to prevent sagging.
How much joint compound do I need?
Plan on roughly 1 gallon of ready-mixed joint compound per 100 sq ft of drywall, which works out to about half a gallon per 4x8 sheet. That covers embedding the tape plus two to three finish coats. Textured finishes and skim coats use noticeably more, so buy a margin.
How much drywall tape do I need?
A 250-foot roll of joint tape covers roughly 1500 sq ft of board, or about 40 linear feet per 4x8 sheet. Paper tape embeds in the first mud coat and is the standard choice for flat seams; mesh tape is stickier to start with but is best used with setting-type compound.
How much extra should I add for waste?
10% is the working default for simple rectangular rooms — it covers cuts around outlets, corners and edges. Bump it to 15% for rooms with many doors, windows or corners, and 20% for complex layouts with soffits, angled walls or vaulted ceilings. Running short mid-job costs more in time than the extra sheets cost.
Do I subtract doors and windows from the wall area?
Yes. This calculator subtracts about 21 sq ft for each door and 12 sq ft for each window, because you do not hang drywall over them. Small items like outlets, vents and switches are not subtracted — the waste allowance absorbs them.
Should I include the ceiling in the estimate?
Only if you are actually boarding the ceiling. Many remodels only redo the walls. When you do include the ceiling, remember it needs more screws per sheet with tighter spacing, and heavier 5/8-inch board if the joists are spaced wider than 16 inches.